



 5 Star Service




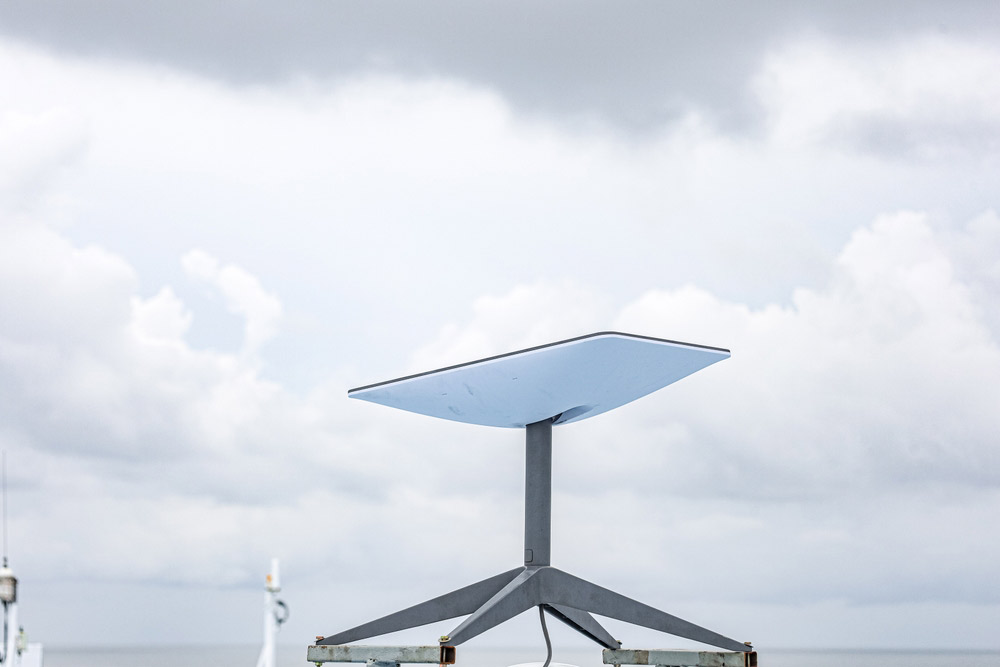
You’ve unboxed the kit, downloaded the app and pointed your phone at the sky to check obstruction — the Starlink dish is ready to go. But now comes the part the setup video glosses over: actually getting it onto the roof, running the cable inside without creating a gap for water, and finding a power point in the right spot for the router. That’s where a lot of homeowners hit pause.
Professional Starlink installation covers exactly this gap — the physical, technical and safety-critical work that turns a hardware purchase into a properly functioning satellite internet system. For homeowners who’ve already bought the kit or are weighing up whether to DIY, this guide walks through what an installation by an electrician on the Gold Coast actually involves, why it matters, and what to have ready before booking.
What Comes in the Starlink Kit (And What Doesn't)
Starlink’s consumer kits — including the Standard and Flat High Performance dishes — ship with the dish, a mounting base, a cable and a router. The hardware is well-made and the app-guided setup is straightforward for ground-level placement. What the kit doesn’t include is any provision for roof penetration, weatherproof cable entry or fixed structural mounting beyond the basic stand.
Key inclusions in a standard Starlink kit:
- Starlink dish and integrated cable (typically 23 metres for newer kits)
- Kickstand or flat surface mount base
- Starlink router (Wi-Fi 6 on current models)
- Power cable and power supply unit
What the kit assumes you’ll sort out separately is everything related to permanent roof mounting, cable routing through walls or ceilings, and locating the router and power supply in a practical, ventilated spot. That’s a different skill set entirely.
Why Roof Mounting Is the Right Choice for Most Homes
Starlink requires a clear view of the sky — specifically, a wide unobstructed field of view toward the north (in Australia) to maintain a reliable connection to the satellite constellation. Ground-level placement on a stand works in some properties, but for most suburban homes, trees, eaves, neighbouring structures and fencing create obstructions that degrade or drop the signal intermittently.
Roof mounting resolves most of these issues by elevating the dish above the obstruction line. A licensed Starlink installer will assess:
- The roof pitch, material and structural suitability for mounting hardware
- The optimal position for sky view based on the Starlink obstruction check
- The safest cable entry point to avoid structural damage or water ingress
- Access and anchor points that won’t void roofing warranties or create leak risks
Tile, metal and Colorbond roofs all require different mounting approaches, and each carries specific risks if handled without experience working at height.
The Case Against DIY Roof and Cable Work
Starlink actively encourages self-installation, and for a ground-mounted kit on a flat surface, that’s reasonable. Roof work is a different matter. Working at height on a pitched roof without fall protection is one of the leading causes of serious injury for homeowners attempting DIY tasks — and that’s before considering what happens if the mount isn’t fixed correctly and the dish shifts in high wind.
Beyond the safety risk, incorrect cable routing creates long-term problems:
- Unsealed roof penetrations allow water into the ceiling cavity over time
- Cables run without conduit or saddles can be damaged by UV, heat or vermin
- Poor cable management can affect signal quality and create trip hazards
- Router placement without adequate ventilation shortens equipment lifespan
As we’ve covered before, don’t let a DIY bargain burn down your home — cutting corners on roof and cabling work has a habit of creating problems that cost far more to fix than the installation would have.
How a Professional Starlink Installation Works
A professional Starlink setup is a structured process, not just a matter of drilling a hole and feeding a cable through. A licensed electrician on the Gold Coast familiar with Starlink installations will work through the job methodically.
The typical installation process includes:
- Site assessment: Identifying the best roof position using the Starlink app’s obstruction tool and physical inspection of the roofline.
- Roof mounting: Installing a suitable mount — tripod, J-mount or flat-surface bracket — anchored to the roof structure, not just the cladding.
- Weatherproof cable entry: Creating a sealed penetration point using appropriate flashing or gland fittings to prevent water ingress.
- Cable run: Running the Starlink cable from the roof to the router location internally where possible, using conduit or cable saddles to protect and neaten the run.
- Router and power placement: Positioning the router in a central, ventilated location with access to a suitable power point.
- System test: Confirming dish alignment, app connectivity and signal quality before leaving the site.
The entire job on a standard single-storey home typically takes two to four hours depending on roof access and cable routing complexity.
Starlink Cable Runs: Keeping It Neat and Protected
The cable that ships with the Starlink kit is longer than most people expect — and for good reason. Running it internally through wall cavities or ceiling spaces, rather than externally along fascias and gutters, produces a far cleaner result and better protects the cable from the elements.
Our communication cabling work covers exactly this kind of structured cabling — routing data and signal cables through buildings in a way that’s neat, protected and serviceable over the long term. For Starlink specifically, this means:
- Internal routing through ceiling cavities where roof access permits
- External conduit runs on brick or render homes where internal routing isn’t practical
- Cable saddles and clips to secure external runs against wind movement
- Avoiding proximity to power cables to reduce potential interference
- Clean entry points that are properly sealed and aesthetically tidy
A well-executed cable run doesn’t just look better — it protects the cable from UV degradation, heat cycling and physical damage over what should be a multi-year installation.
Ideal Dish Placement: What Affects Your Signal
Starlink’s low earth orbit constellation means the dish needs to track satellites moving across a relatively wide arc of sky. Unlike a fixed-position satellite dish pointing at a single point, Starlink’s dish adjusts automatically — but only within its field of view. Obstructions within that field cause brief signal interruptions that accumulate into noticeable downtime.
Factors that affect dish placement decisions:
- Trees: Even partial canopy coverage causes periodic drops, especially as trees grow.
- Chimneys and rooftop structures: These create hard obstructions within the dish’s view arc.
- Neighbouring buildings: Two-storey structures to the north can significantly reduce sky view on smaller blocks.
- Roof orientation: On hip and gable roofs, the peak position often offers the widest clear view.
- Cable length constraints: The standard cable limits how far the dish can be placed from the router entry point.
A site assessment before installation allows a Starlink installer to weigh these factors and choose a position that balances sky view, structural suitability and cable routing practicality.
What to Have Ready Before Your Installation Appointment
A little preparation before the installer arrives makes the job run more smoothly and reduces the chance of delays on the day.
Before booking or on installation day, it’s worth having the following sorted:
- Your Starlink kit unpacked and on-site: The installer will need the dish, cable and router to complete the job.
- Roof access considered: Let the installer know if there are any access constraints — overhanging trees, limited yard space for a ladder, or a particularly steep pitch.
- Preferred router location identified: Think about where you’d like the router positioned — central to the home, near existing networking gear, or in a specific room.
- Power point availability confirmed: The router and power supply need a nearby power point; if one isn’t in the right location, a licensed electrician can add one as part of the job.
- App downloaded and account active: Having the Starlink app installed on your phone and your account set up means the system test at the end of the install goes faster.
If you’re adding a power point or need any switchboard work done at the same time, flagging that when booking allows the electrician to allow adequate time.
When to Book: New Connections, Relocations and Upgrades
Starlink installation isn’t only for new subscribers. There are a few scenarios where bringing in a professional makes sense even if you’ve had Starlink for a while.
Professional installation is worth considering when:
- You’re a new subscriber who’s bought the kit and wants it mounted properly from the start
- You’ve been running the dish on a ground-level stand and want to upgrade to a permanent roof mount for better signal
- You’re relocating and want to reinstall your existing dish correctly at a new property
- Your current installation was self-done and is showing signs of cable wear, water ingress or connectivity issues
- You’re building or renovating and want the cabling roughed in during construction
In each case, the job scope varies — but the same principles apply: correct mounting, weatherproof cable entry, a tidy cable run and a properly placed router.
Ready to Book Your Starlink Installation?
We at Oceanside Services are a licensed electrical contracting business working with homeowners across the Gold Coast — from Coolangatta up through Coomera and across to the hinterland. If you’ve already got your Starlink kit sitting in the box, or you’re planning your connection and want it done right the first time, our team handles the full installation: roof mounting, weatherproof cable entry, internal cable run and router setup.
Our electricians on the Gold Coast can also take care of any power point additions if your preferred router location doesn’t have one nearby — so you get the whole job done in a single visit.
To get started, contact our team with your property details and we’ll provide a straightforward quote. No call-out surprises, no unnecessary upsells — just a clean professional Starlink installation done properly the first time.